Good training gear does two things at once. It helps learners build muscle memory that sticks under pressure, and it makes an instructor’s day run smoother, from the first setup to the last wipe‑down. Over years of teaching CPR, AED, and first aid across community centers, worksites, and ice rinks from Thunder Bay to Truro, I have learned that the right kit is not a luxury. It is the backbone of a dependable program.
This guide walks through the emergency training equipment Canada’s instructors count on, how to judge quality, and where to invest if you are building or refreshing your equipment pool. It draws on practical details, like which feedback lights learners actually respond to, which carry cases survive winter car trunks, and how to choose consumables that do not blow through your budget by mid‑semester.
What quality looks like in a training room
Realistic practice creates recall under stress. That simple idea connects almost every gear choice you will make. With CPR training manikins, realism shows up in chest resistance, recoil, and facial features that help students create a proper mask seal. With AED training equipment, it shows up in prompts that match the brand models people will actually see in malls, airports, and hockey arenas.
Durability matters just as much. Instructors in Canada do not teach in a climate‑controlled lab every time. You haul kits through slush, store plastic cases in cold vans, and sanitize repeatedly through back‑to‑back classes. Zippers, hinges, and valves get tested hard. If a product does not have easy access to spare pads, cables, and lungs with realistic pricing and delivery inside Canada, it will become a headache by month three.
Finally, think in systems. Buy single pieces that work together, and your setup, teardown, and record‑keeping compress into a rhythm you can sustain even during heavy teaching seasons like September and late winter. That is where well‑built CPR instructor packages Canada vendors offer can help, as long as you know what you are getting.
Adult, child, and infant: manikins that teach correctly
You can teach the algorithm with any torso on the floor. The difference between a pass and a transformation is how the manikin coaches the student. The better models no longer guess at depth and rate. They measure and show it in real time.
For adult practice, modern torsos with spring systems calibrated to current guidelines help students feel the 5 to 6 cm click here target. Visual feedback on rate training turns a vague “push faster” into a clear cue. In my classes, learners consistently correct within two attempts when the manikin uses a simple light ladder or a metronome matched to compressions. The Prestan adult manikins with rate monitors are a reliable baseline. Laerdal’s Little Anne QCPR adds Bluetooth feedback through an app, which shines in larger classes because you can coach three pairs at once based on live dashboards. In fall protection or remote worksite courses, the Brayden series, with illuminated perfusion pathways, can be a strong motivator for groups that thrive on gamified visuals.
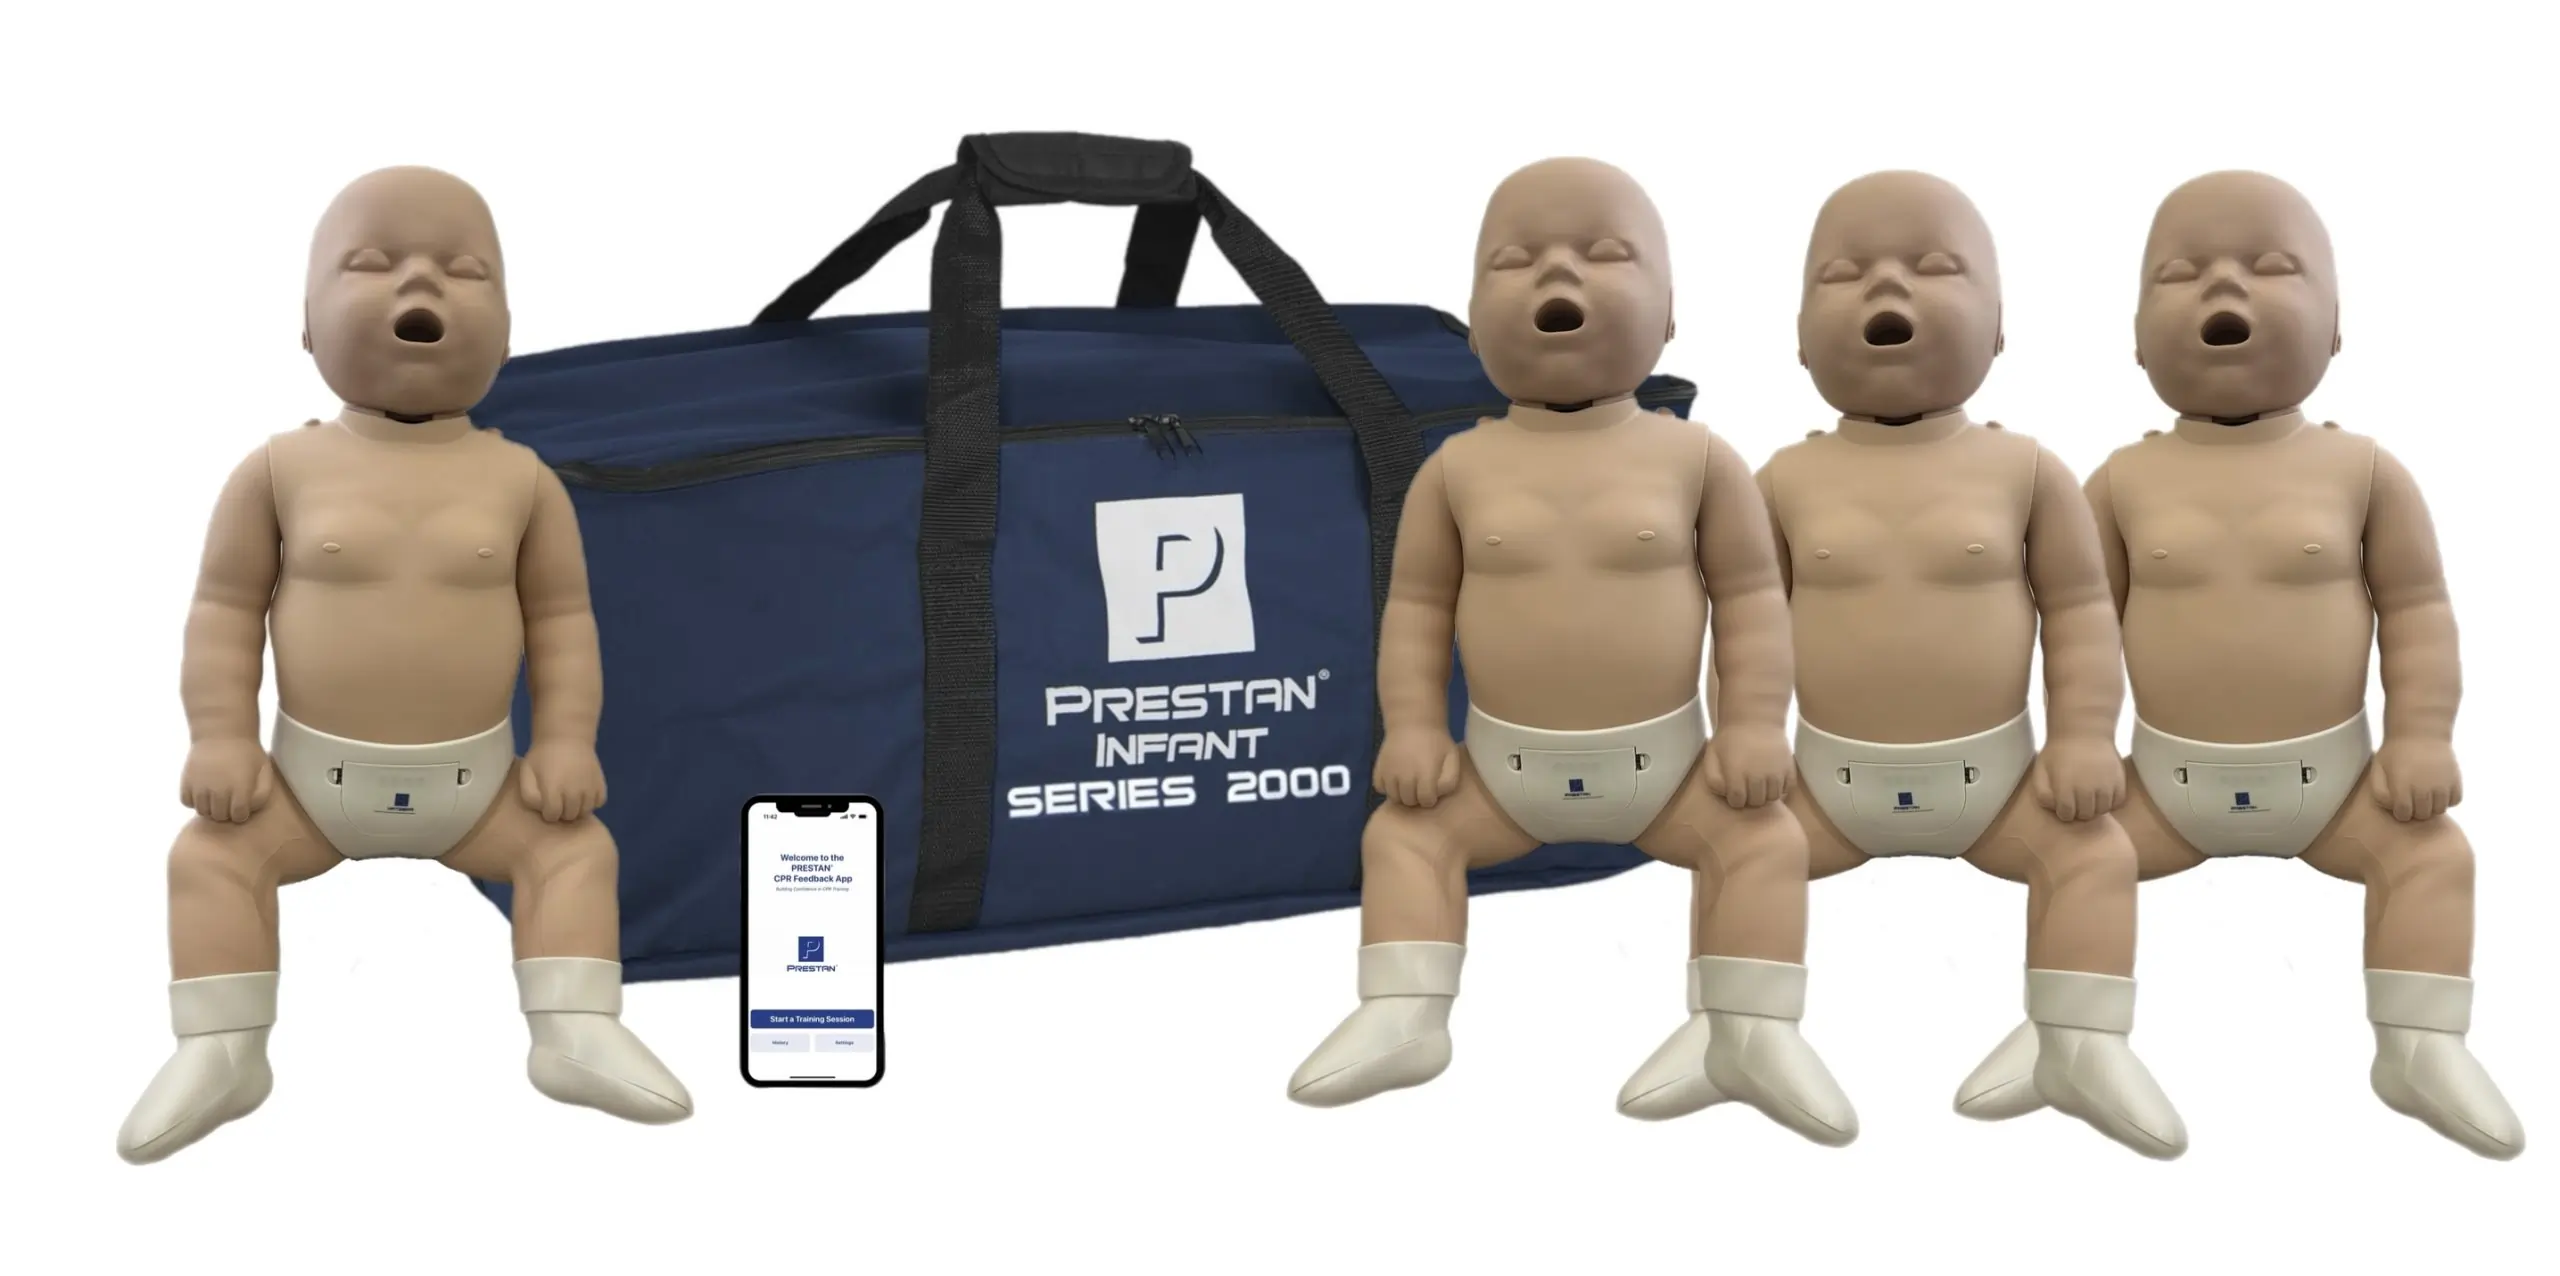
Child and infant manikins must not be an afterthought. Teaching depth and force adjustment is not optional in pediatric sessions. Models that properly simulate chest wall compliance for infants will change how carefully learners place their fingers and deliver ventilations. I insist that every kit include enough infant units to avoid crowding. If eight students wait on one baby manikin, your skills check falters and confidence drops. Good infant manikins also accept bag‑mask valves without fighting for seal or tipping the head into an unrealistic angle.
Sanitation and swap speed drive the rest of the decision. Look for torsos with quick‑change lungs, easy‑clean faces, and sanitizer compatibility printed by the manufacturer. You want parts that handle 70 percent isopropyl, quats, or accelerated hydrogen peroxide, rather than products that haze or crack after a season.
When ordering CPR training manikins Canada wide, consider bilingual packaging and manuals if you serve Quebec or federal clients. It avoids headaches with audits, and it respects the learners in your room.
AED training equipment that matches the field
The gap between a trainer and an installed AED should be as narrow as you can make it. That means choosing units that mirror the prompts, pad shapes, and cable routing of the real devices in your region. It saves minutes in emergencies because the student’s mental picture lines up.
Zoll AED Plus, Philips HeartStart HS1, and Heartsine Samaritan units are common across Canadian workplaces and arenas. You can find trainer versions that copy their voice prompts, button layouts, and analysis intervals. I keep at least two brands of trainers in rotation because community classes draw people from offices, construction sites, schools, and rinks, and they will meet different devices. In corporate contracts, I match their installed brand when possible. If a client uses Zoll, I bring the Zoll trainer and pads that show exact placement. People remember where to tuck those right‑angle pads when they have felt the cable and routing once.
There is a temptation to buy generic AED training equipment Canada suppliers carry at attractive prices. If you are teaching broad public classes, that can work. You get pads that stick well through multiple runs, a volume control that cuts through rink compressors, and a rechargeable battery. If you consistently teach in facilities with a single brand, pick the trainer that matches, even if it costs a bit more. You will recoup the price in fewer correction pauses.
Pay attention to consumables. Some AED trainers burn through pad adhesives fast in sweaty summer rooms. The better ones sell replacement backing plates or reusable pads meant for high‑turnover courses. Factor that into your budget. A pad set that lasts 80 to 100 pulls beats a cheaper set that dies at 30.
Finally, do not ignore cable length. It sounds trivial until your demo involves a tall learner in a narrow classroom aisle. Trainers with compact, flexible leads and pads that fold neatly back into a carrier save time and reduce tear risk.
The unglamorous, essential pieces: barriers, BVMs, and first aid kits
Mask and barrier choices can boost or sink your timing. Universal compact pocket masks with one‑way valves do the job, but they are not ideal for all faces, especially bearded learners. I keep a few soft adult masks with malleable noses and larger flanges to teach an effective seal. If you teach a lot of pediatric content, stock child and infant mask sizes, not just reduce the volume on an adult mask. Ventilation success in infant drills improves dramatically when the interface matches the face.
Bag‑valve masks matter for advanced courses and blended options with HCP content. Prioritize BVMs with:
- Low dead‑space volumes and transparent bags so learners see chest rise without over‑ventilating. Soft, well‑shaped masks that seal on varied faces. A detachable PEEP valve for scenarios where you want to demonstrate oxygenation concepts.
Carry an oxygen training kit if your syllabus includes it. Health Canada restricts actual oxygen handling during many public courses, so instructors use non‑functional regulators and cylinders to teach flow selection, assembly, and safety. The realism of the threads, gauges, and keys helps learners avoid cross‑threading or overtightening later on the job.
On first aid practice, the best CPR and first aid training kits mix realistic bandaging with simple viewing. Roller gauze that tears into clean strips, triangular bandages that hold shape for slings, and splints that bend once molded make skills stations feel real. Add mock epinephrine trainers and placebo inhalers for anaphylaxis and asthma practice. Students benefit when they feel the resistance of a trainer auto‑injector against a thigh pad and learn safe handling.
If you teach workplace courses, align with Canadian workplace kit expectations. Provincial regulators reference national standards for contents and size, and many employers will ask if your training reflects those layouts. Demonstrating with a kit that looks like what sits on their wall, clearly labeled in English and French, builds immediate transfer.
Instructor packages that actually save you money
Many vendors sell CPR instructor packages Canada instructors eye when getting started or scaling up. Some bundles are generous, others just stitch together basic pieces and throw in a DVD you will not use.
A strong package for blended CPR and AED courses includes at least four adult torsos with feedback, two infant manikins, two brand‑specific AED trainers, a set of reusable adult and infant masks, a compact projector or tablet stand for live demonstrations, and a sanitation bundle with replacement lungs and extra faces. If the bundle includes a rolling case built for Canadian sidewalks and winter curbs, that is a bonus your back will thank you for.
Watch the fine print around consumables. A package that appears cheaper may include only a handful of lungs, which means you reorder in your second week. A better set ships with enough disposables for a month of mid‑size classes, and offers simple resupply from a Canadian warehouse. Bundle pricing should shave 10 to 20 percent off the individual line items. If it does not, keep shopping.
Classroom flow, room to move, and sound you can hear
Gear choices live or die with the room you teach in. If you work in community gyms, you already know the squeak of a basketball court eats quiet AED prompts. Choose trainers with loud, clear voices and adjustable volume. A small Bluetooth speaker paired to your demonstration device can help in fringe cases, but ensure your prompts do not sound distorted at higher volumes.
Floor space dictates manikin count. Aim for a student‑to‑manikin ratio that keeps hands on chests every few minutes instead of every quarter hour. The sweet spot for adult training is two students per manikin. For pediatric practice, increase infant units to avoid bottlenecks. Foam yoga mats or thin folding mats keep learners off cold floors and protect your manikins’ backs from grit. Mats also help you define lanes so AED trainers and cables do not tangle between pairs.
Sanitation timing matters. Set up a sanitation station with gloves, wipes compatible with your manikins, and a no‑rinse hand sanitizer. Teach learners to wipe their manikin before and after use. It halves your end‑of‑day cleanup.
Cleaning protocols that survive a busy week
Your equipment endures a lot. Repeated disinfection can cloud cheap plastics and weaken valves if you use the wrong products. Read manufacturer guidance. Most popular manikins tolerate 70 percent isopropyl alcohol, quaternary ammonium compounds, or accelerated hydrogen peroxide at labeled dwell times. Disassembly shortcuts also save time. For example, swap lungs after each course group or at a set number of use cycles. Replace faces when the surface gets sticky or micro‑scratched, which makes cleaning less effective.
AED trainers rarely need intense cleaning beyond pads and cases. Wipe the casing and buttons between groups, and do a deeper clean weekly. Keep a small brush in your kit to clear debris from pad contacts so they do not error out mid‑scenario.
Transport, storage, and winter reality
If you have ever left a kit in a trunk at minus 25, you know batteries and adhesives do not forgive. Store AED trainers and manikin faces in a heated space whenever possible. If you must move in winter, transport consumables inside the cabin. Cold adhesives fail, which turns your morning class into a lecture instead of a hands‑on.
Choose cases with durable wheels and telescoping handles that can handle slush and salt. Interior dividers that hold masks, pads, and lungs in separate, labeled pouches make restocks fast. Consider clear, rigid bins inside a rolling case so you can scan inventory at a glance.
Rechargeable NiMH batteries pay back in about three months for high‑volume instructors. Keep a dedicated charger and a rotation system. Label battery sets by number and date so you can spot weak cells early.
Inclusion, access, and realism for everyone in the room
Not every learner kneels well or hears prompts clearly. Equip at least one manikin to sit on a table for learners with mobility limitations. Have large‑print cue cards for key steps, and confirm your AED trainers have clear visual prompts to supplement audio. For remote communities with mixed language backgrounds, bilingual cue cards and labels on your trainers help a surprising amount. It also models how employers should label wall‑mounted AEDs and first aid kits.
Cultural sensitivity shows up in small ways. Offer practice without rescue breaths to learners uncomfortable with barrier use, then demonstrate with masks so they still understand the full technique. Bring hijab‑friendly options for head positioning demonstrations using respectful, consent‑forward language.
Budgeting for a sustainable kit
Build in layers. Start with four adult manikins with feedback, two infant manikins, two AED trainers that match common local brands, a set of reusable masks, and a haul of lungs and wipes to support your first month. In Canadian dollars, you will spend in the range of $2,500 to $5,000 for this foundation, depending on brand choice and whether you catch a package deal.
Add specialty pieces based on your course mix. If you teach more workplace first aid than community CPR, allocate funds to splints, burn dressings, and anaphylaxis trainers. If your schedule leans toward healthcare provider recerts, put money into BVMs with PEEP trainers and airway heads for adjunct practice.
Do not chase features your syllabus will not use. Bluetooth dashboards are powerful in large rooms, but if your classes run eight learners at a time, simple light‑based feedback often manages just as well. On the other hand, if you teach 24 learners in a corporate auditorium, the app view will help you move among triads quickly and fix rate or depth errors in real time.
Vendor selection, warranties, and Canadian support
Local support saves days when something breaks. Favor suppliers with Canadian warehouses and documented access to spare parts. Confirm warranty terms in writing. Good vendors offer at least a one‑year warranty on manikins and AED trainers, and they stock pad sets, faces, and valves for quick shipment. If you teach in both official languages, ask for bilingual manuals and device prompts. Some AED trainers ship with English and French voice packs you can switch on the fly.
Check return policies before you buy a large package. You should be able to return or swap a trainer that does not align with your client’s installed brand. For institutional contracts, keep a spare trainer of the client’s brand in reserve to cover last‑minute class size bumps or device failures.
Digital support that helps instead of distracts
There is a place for apps and screens, but they should serve practice, not replace it. QCPR‑style apps that aggregate compression metrics across multiple manikins can help you triage coaching attention. Keep the device on a stand at eye level so you do not hunch over a phone between pairs, and dim the screen when you do live demos so eyes stay on you or the manikin.
If you use videos for consistent AED prompts, download local copies. Buildings with concrete cores and basement classrooms crush streaming. A compact projector earns its spot in your kit if you teach in rooms without reliable displays. Carry a short HDMI cable and a spare adapter.
Real‑world anecdotes that shaped my kit choices
In a community rink outside Regina, my class competed with a compressor that sounded like a tractor. The first time, half my students missed analysis prompts on a low‑volume trainer. I swapped in a louder unit with a clear metronome and the problem vanished. That lesson cost me one frustrating evening, and it cemented the rule that sound output is a buying criterion, not a nice to have.
On a winter morning in Quebec City, I learned what cold does to pad adhesives. I had left spares in the trunk. Even after warming in my hands for a few minutes, they would not adhere through the first round of drills. Now I carry pads in a small insulated pouch and keep them inside my jacket until use when the day starts below freezing.
In a downtown Toronto office, matching the client’s installed defibrillator trainer to the unit in their hall paid off immediately. A learner who had walked by that AED for two years said, unprompted, “Oh, that is our machine,” and her hands went exactly where the pads belonged. Recognition is not a bonus. It is the gear doing the heavy lift.
Maintenance cycle at a glance
- Test all AED trainers weekly, check battery levels, and run one full scenario with each unit. Inspect manikin chests, faces, and valves after every course day, replace lungs on schedule or sooner if visibly soiled. Launder or disinfect mats and wipe all high‑touch surfaces with a manufacturer‑approved cleaner at end of day. Rotate rechargeable batteries and label sets by month to spot capacity dips early. Audit inventory monthly for pads, lungs, gloves, wipes, and replace before you hit minimums.
A compact instructor go‑bag checklist
- Extra AED training pads and one spare cable per trainer. Replacement manikin lungs, faces, and a small toolkit with a Phillips screwdriver and hex keys. A sanitation kit with gloves, approved wipes, hand sanitizer, and waste bags. Two sizes of pocket masks and one BVM with a spare mask. A laminated bilingual skills flowchart and quick‑reference cards for learners.
Where the keywords meet reality
People search for CPR training manikins Canada or AED training equipment Canada because they want something reliable, and they want to know it will arrive on time and work in their rooms. The same goes for Emergency training equipment Canada instructors can take to mixed audiences without re‑explaining features every class. Good CPR instructor packages Canada sellers put together honor those needs by pairing enough manikins and trainers with the right consumables, instead of leaving you to discover shortages during your first course. And when a program needs breadth, well‑chosen CPR and first aid training kits round everything out, turning a bin of gauze and splints into a set of stations that teach with clarity.
If you start with the core, choose devices that mirror the Medical simulation equipment Canada field, and maintain a steady rhythm of testing and restock, your gear becomes a quiet partner in the room. Learners feel the right depth, hear the correct prompts, and leave knowing they can act. That is the point of every purchase in this trade.